1 / 5

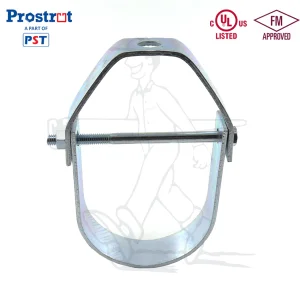
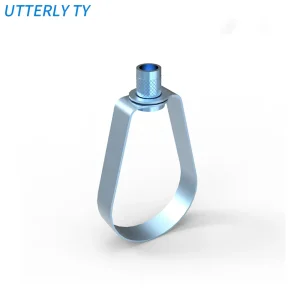
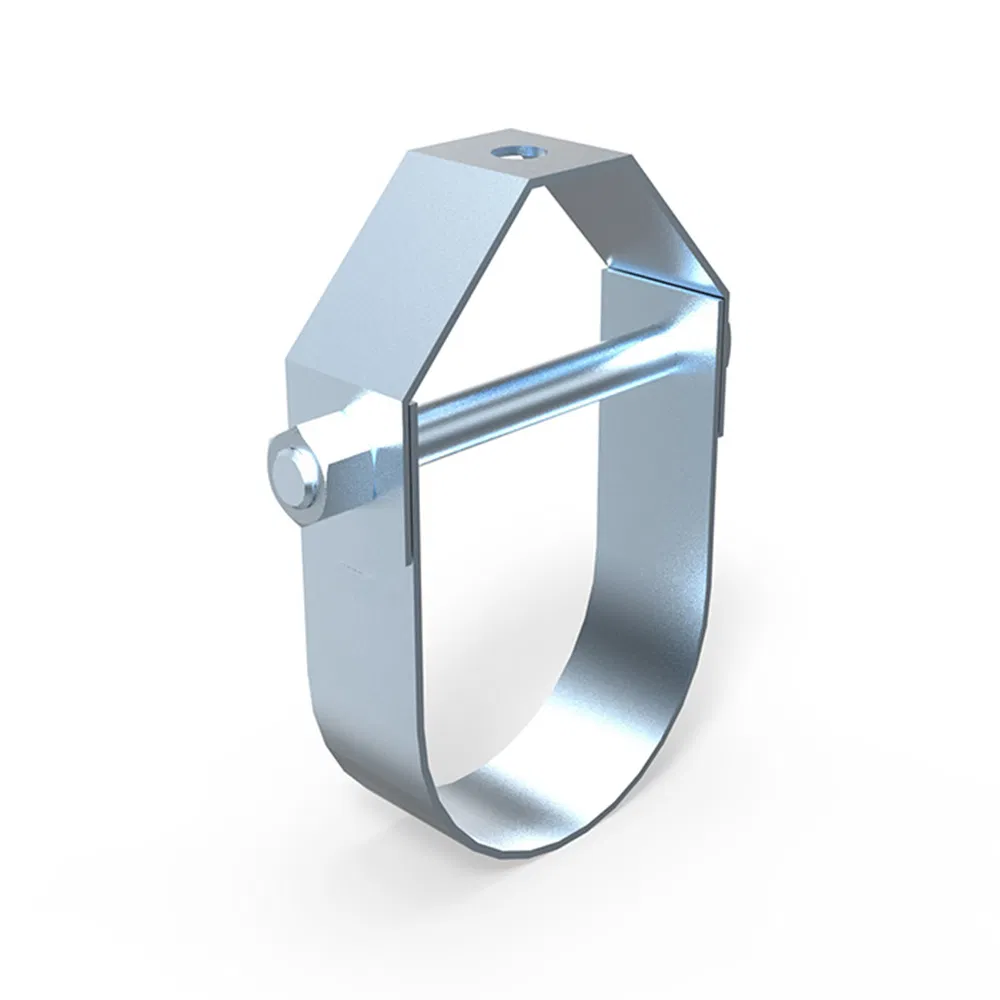
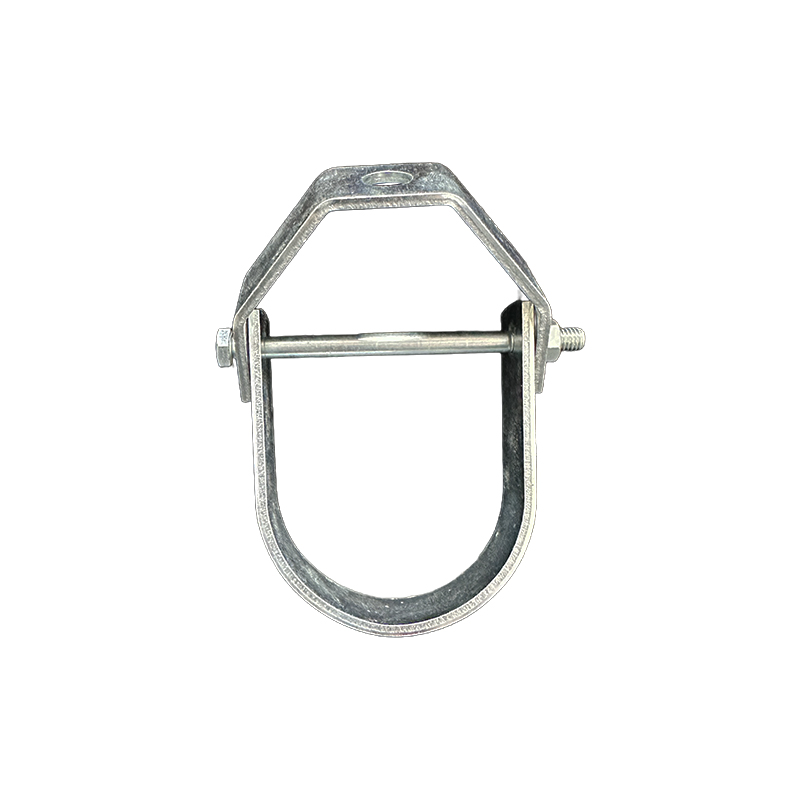
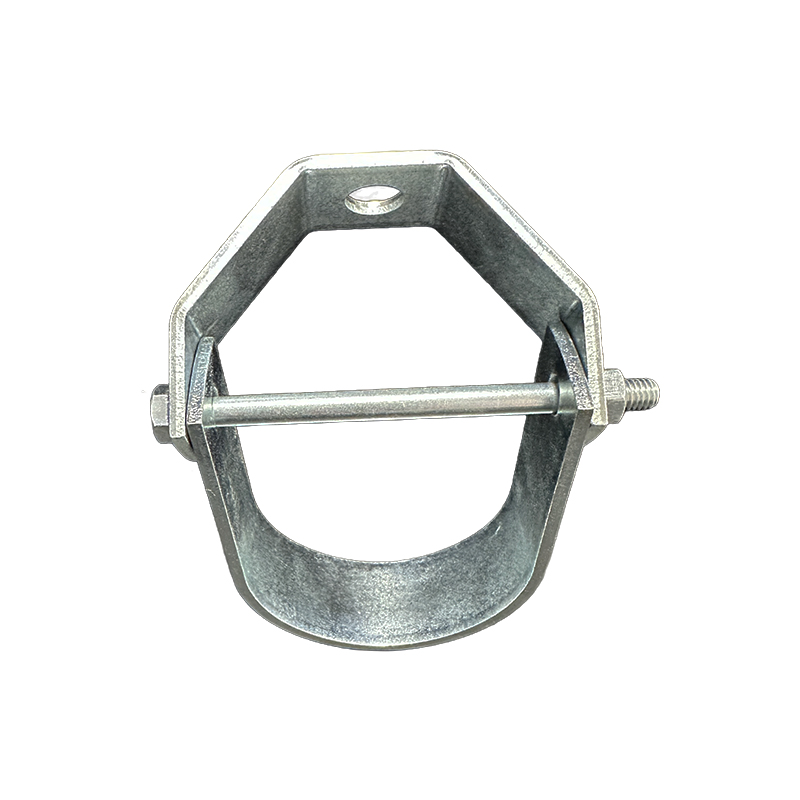
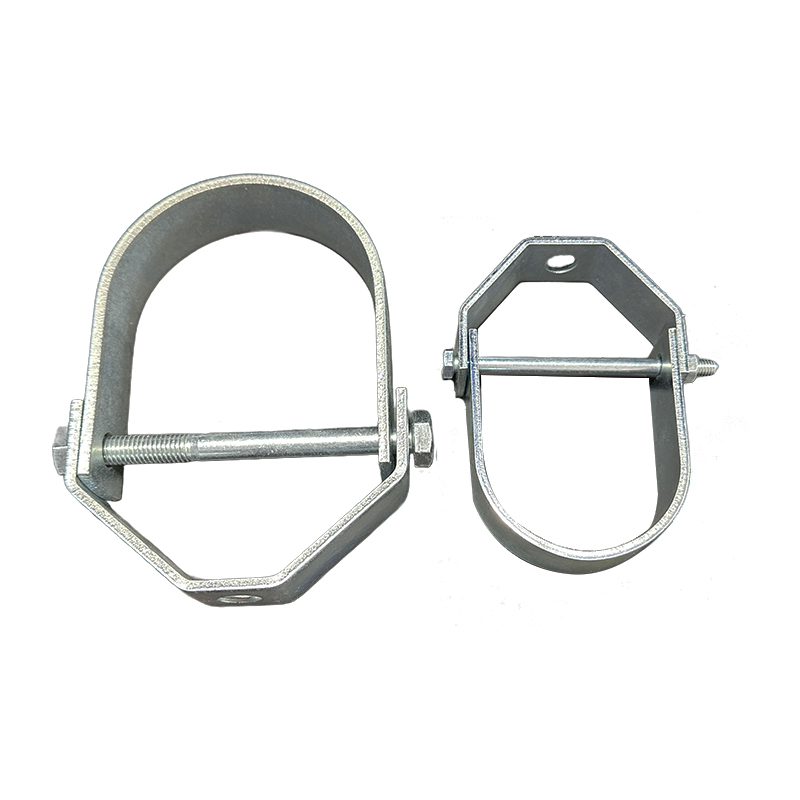
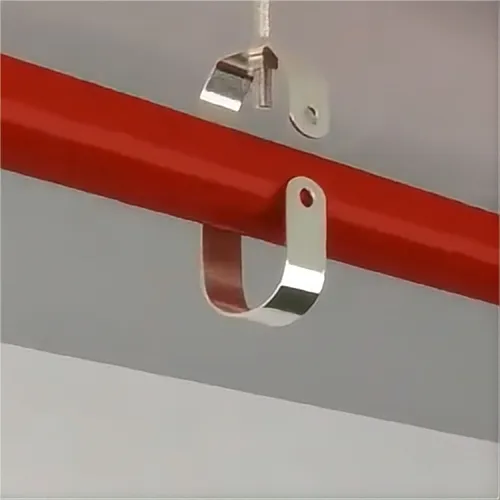
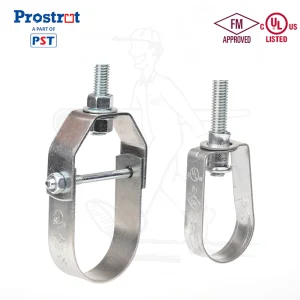
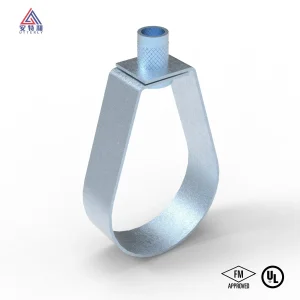
UTT30 Clevis Hanger features a horseshoe-like design for easy installation and removal, significantly reducing labor time and effort. Its innovative shape allows it to be simply slid onto the pipe or conduit and securely snapped into place without the need for complex tools or fasteners.
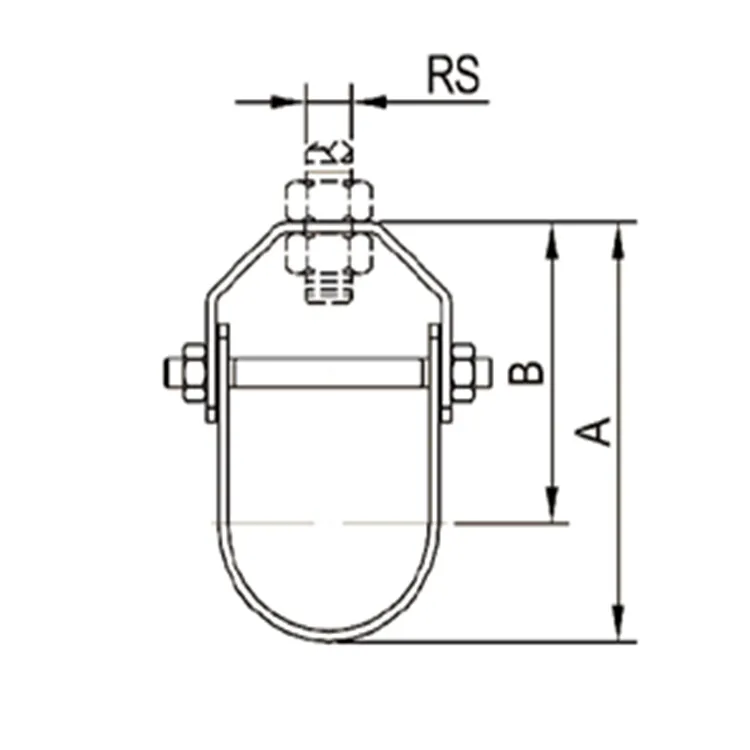
| Size | B | C | D | W | |||||
|---|---|---|---|---|---|---|---|---|---|
| in | mm | in | mm | in | mm | in | mm | in | mm |
| 1/2" | DN15 | 1.57 | 39.4 | 1/4" | M6 | 1/2" | 21.3 | 0.87 | 22 |
| 1" | DN25 | 1.62 | 40.6 | 1/4" | M6 | 1" | 33.4 | 0.87 | 22 |
| 2" | DN50 | 2.13 | 53.5 | 1/4" | M6 | 2" | 60.3 | 0.98 | 25 |
| 4" | DN100 | 3.31 | 83.2 | 1/2" | M12 | 4" | 114.3 | 1.18 | 30 |
| 6" | DN150 | 5.17 | 129.8 | 1/2" | M12 | 6" | 168.3 | 1.57 | 40 |
| 12" | DN300 | 6.14 | 154 | 3/4" | M20 | 12 | 323.9 | 1.97 | 50 |
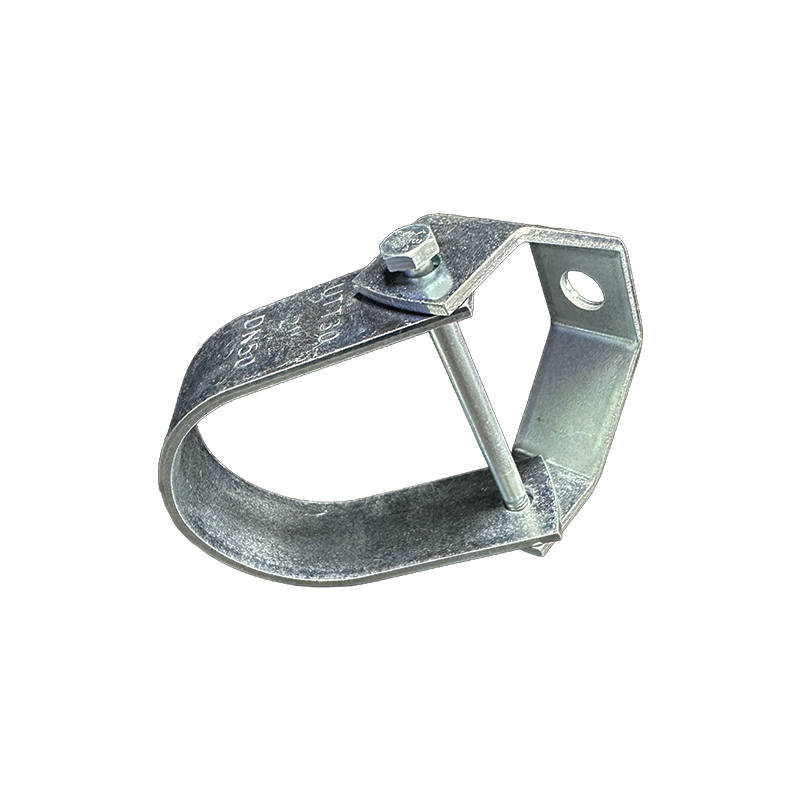
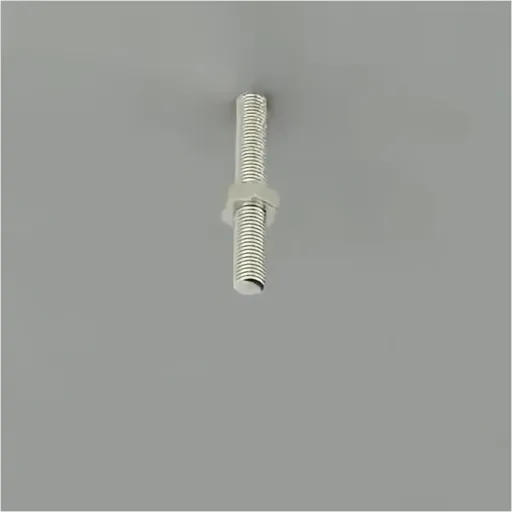 Step 1
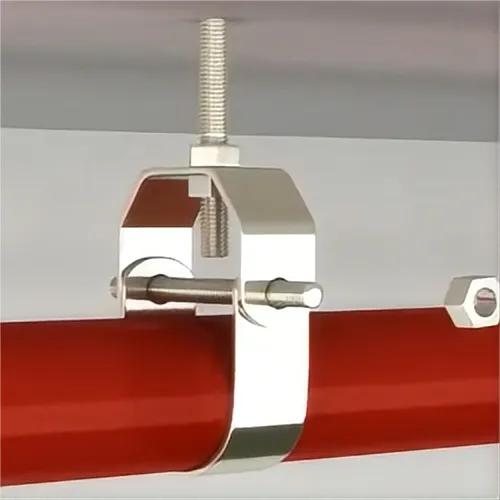
Secure the screw to the mounting base surface (e.g., ceiling), then install the nut onto the screw.
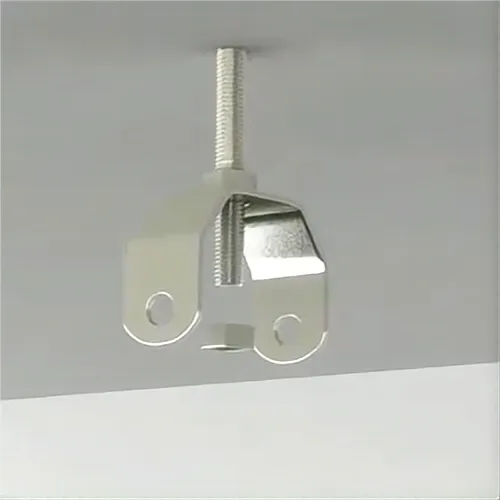 Step 2
Install the main part of the clevis hanger onto the screw, and initially fix it using the nut.
 Step 3
Adjust the position of the hanger to align with the pipe. Place the pipe into the slot of the clevis hanger.
 Step 4
Install U-shaped clamps and fasteners to lock the device, ensuring a firm connection to the pipeline.


![[Ruoteng] Sanitary Stainless Steel 304/316 Pipe Hanger Tube Hanger](https://site.cdnfile.io/3be5f79e1828e9623c1a0525585c3e4d300_300.webp)